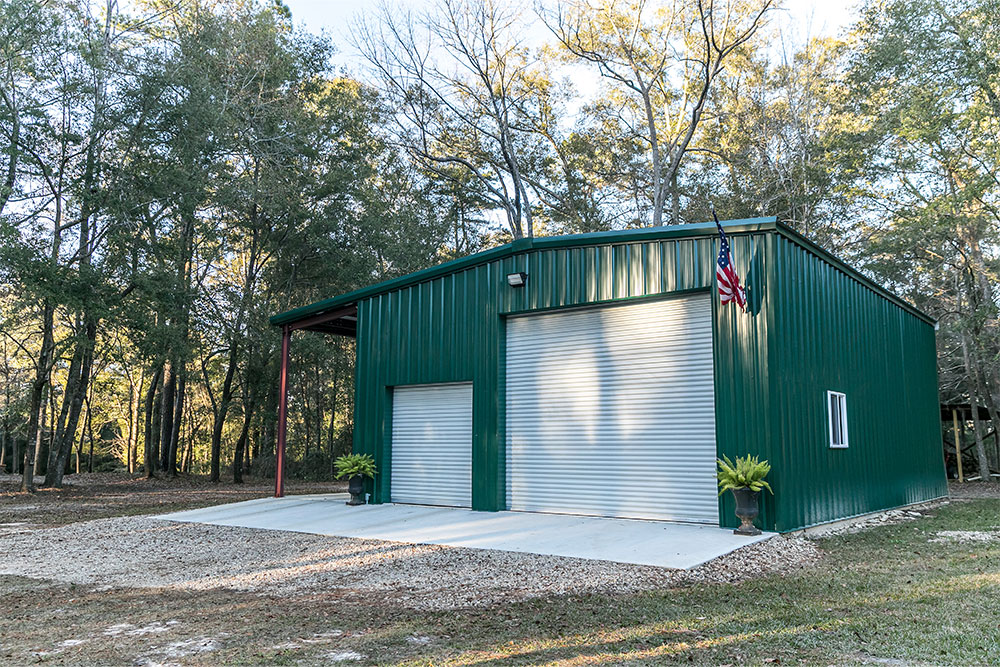
Installing a metal building is a significant investment that can add value, functionality, and durability to your property. Whether you’re planning a workshop, storage facility, or recreational space, a successful metal building installation requires careful planning, preparation, and attention to detail. In this post, we’ll cover the essential steps and considerations for installing a metal building.
Why Choose a Metal Building?
Metal buildings have gained widespread popularity across residential, commercial, and agricultural sectors thanks to their unmatched versatility, durability, and cost-effectiveness. One of the key advantages of metal structures is their exceptional durability. They are naturally resistant to pests, fire, and harsh weather conditions, ensuring a long service lifespan and reliable performance.
Additionally, metal buildings are low maintenance, requiring far less upkeep than traditional materials like wood, which can be susceptible to rot, pests, or frequent painting. This characteristic makes metal structures an economical choice in the long run.
Another reason to choose metal buildings is their high level of customization. These structures can be designed to fit a variety of sizes, layouts, and specific functionalities. Whether you need a small storage unit, a large agricultural barn, or a commercial workshop, metal buildings can be tailored to meet your unique needs.
Last but not least, metal buildings are an eco-friendly option. Many of them are constructed using recyclable materials, which reduces environmental impact and supports sustainability efforts.
Step 1: Pre-Installation Planning
- Assess Your Needs
Determine the purpose of your building. Consider factors such as size, layout, and features. Will it serve as a storage unit, workshop, or commercial facility? Understanding your needs will guide your decisions throughout the project.
- Research Local Building Codes
Building codes vary by location, and compliance is critical for safety and legality. Check with your local authorities to understand zoning laws, permit requirements, and restrictions. This ensures your project meets all regulations before construction begins.
- Select the Right Site
Look for a site with:
- Proper Drainage: Ensure the area is free from flooding risks and has adequate drainage.
- Accessibility: The site should be easily accessible for construction vehicles and future use.
- Level Ground: A flat and stable surface minimizes preparation time and construction challenges.
Step 2: Preparing the Site
- Clear the Area
Remove any vegetation, debris, or existing structures from the site. A clear area ensures that construction can proceed without interruptions.
- Level the Ground
A level foundation is essential for structural stability. Depending on your site’s condition, you may need to grade the land to create a flat surface.
- Lay the Foundation
The foundation is the backbone of your metal building. Common options include:
- Concrete Slab: The most popular choice for metal buildings, providing a solid and durable base.
- Pier and Beam: Suitable for smaller structures or those in areas with uneven terrain.
- Gravel Base: A budget-friendly option for temporary or light-use structures.
Ensure that your foundation meets the specifications provided by your building’s manufacturer.
Step 3: Gathering Tools and Materials
- Verify Your Building Kit
If you’ve purchased a pre-engineered metal building kit, double-check that all components are included. It may comprise:
- Framing members
- Panels
- Fasteners (bolts, screws, washers)
- Trim and flashing
- Anchors
- Prepare the Necessary Tools
The tools required for metal building installation include:
- Measuring tape
- Level
- Power drill and bits
- Wrenches
- Screwdrivers
- Safety equipment (gloves, goggles, hard hats)
Having everything on hand minimizes delays during the installation process.
Step 4: Assembling the Frame
Lay Out the Frame Components
Unpack and organize the frame components according to the manufacturer’s instructions. This makes it easier to locate the parts needed for each step.
Erect the Main Frame
Begin by assembling the main frame, which typically includes vertical columns and horizontal beams. Secure each connection using bolts and fasteners as specified in the instructions.
Check for Alignment
Use a level to ensure that the frame is straight and properly aligned. This step is crucial for structural integrity and prevents issues during panel installation.
Add Bracing for Support
Install temporary bracing to stabilize the frame while assembling the rest of the structure. This step ensures safety during the early stages of construction.
Step 5: Installing Roof and Wall Panels
Start with the Roof
- Attach roof panels to the frame, starting from one end and working your way across.
- Overlap panels as instructed to create a watertight seal.
- Secure the panels using screws and washers, ensuring they are evenly spaced.
Move to the Walls
- Install wall panels after completing the roof. Start from one corner and work around the structure.
- Align panels carefully to maintain a neat and uniform appearance.
Seal the Edges
Apply weatherstripping or sealant around the edges of the panels to prevent water and air leaks.
Step 6: Installing Doors and Windows
Choose the Right Locations
Decide where you want doors and windows based on the building’s intended use. For example, place doors in areas that allow for easy access and windows where natural light or ventilation is most needed.
Install Door Frames
- Secure the door frames to the structure, ensuring they are level and aligned.
- Use screws and brackets provided in your kit or as recommended by the manufacturer.
Attach the Door
- For roll-up or sliding doors, follow the manufacturer’s instructions for attaching the door to its frame.
- Test the door to ensure it opens and closes smoothly.
Install Windows
- Cut openings for windows, if not pre-fabricated.
- Fit the window frames and secure them with screws, sealing the edges with weatherproof caulk to prevent leaks.
Step 7: Insulating Your Metal Building
While insulation isn’t always necessary, it can significantly improve comfort and functionality, especially if you plan to spend long hours in your metal building.
Types of Insulation
- Fiberglass Batts: Cost-effective and easy to install between framing members.
- Spray Foam: Provides excellent coverage and seals gaps, though it’s more expensive.
- Reflective Insulation: Ideal for metal buildings, as it reduces radiant heat from the sun.
Installation Tips
- Ensure the building is clean and dry before applying insulation.
- Use tape or adhesive to secure insulation in place.
- Seal all edges to prevent drafts or moisture from entering.
Step 8: Adding Trim and Finishing Touches
Trim and finishing details not only enhance the appearance of your metal building but also provide additional protection against the elements.
Install Trim
- Attach corner trim, roof edge trim, and base trim to cover exposed edges.
- Use screws or rivets to secure trim, ensuring a neat and polished finish.
Apply Sealant
- Seal all joints, edges, and seams with silicone caulk or weatherproof sealant to prevent leaks.
Paint and Customize
- While many metal building panels come pre-painted, you can customize the color or finish to match your preferences.
- Consider adding decals, signage, or other decorative elements if the building will serve a commercial purpose.
Step 9: Maintenance and Care
To ensure your metal building remains in top condition for years to come, follow these maintenance tips:
Regular Inspections
- Check for signs of rust, loose fasteners, or damage to panels after extreme weather events.
- Inspect seals and caulking for cracks or wear.
Cleaning
- Wash the exterior with mild soap and water to remove dirt, debris, and pollutants.
- Clear gutters and downspouts (if applicable) to prevent water buildup.
Repairs
- Replace damaged panels, fasteners, or trim immediately to avoid further issues.
- Touch up paint to protect against corrosion.
How Bull Buildings Makes Things Easier
Installing a metal building on your own can be a complex process, requiring compliance with building codes, extensive labor, and a lot of time spent coordinating materials and tools. Fortunately, Bull Buildings simplifies the process by taking the hard work off your shoulders.
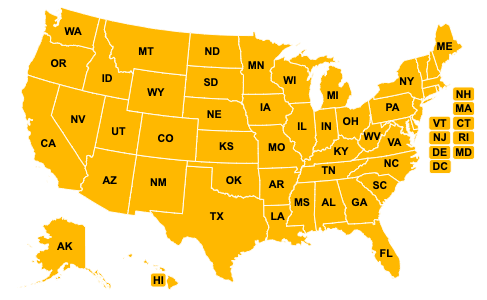
As authorized representatives for 28 manufacturers, we work directly with you to understand your project’s exact specifications, including size, design, and timeframe. From there, we match you with the best manufacturer for your needs, ensuring the structure meets or exceeds local building codes, including wind and snow load requirements.
Whether you need a simple carport or a more complex structure, we’ll make the process seamless from start to finish. Let Bull Buildings handle the logistics, so you can enjoy the benefits of a ready-to-use metal building without the stress of installation.
Ready to start your project? Contact Bull Buildings today for expert guidance and a free quote.


